Jacob Whaling is a guide writer for TheGamer. Besides oversharing about FFXIV lore, he enjoys snapping together model kits, reading comics, and Monster Hunter-ing.
An Unholy Prophecy is the seventh Lost Chapter in the Kaifeng region of Where Winds Meet. After learning rumors about a hidden arsenal of weapons kept within the Martial Temple in Kaifeng, the Young Wanderer sets out to investigate and meets a Mysterious Painter.
This Lost Chapter is on the longer side, and will test not only your combat abilities, but your trap-avoiding reflexes as well. Below, we’ll show you how to start this quest, and how to solve every puzzle you’ll encounter along the way.
How To Start An Unholy Prophecy
You can start An Unholy Prophecy by going to the Martial Temple in southwest Kaifeng. There, speak to the Mysterious Painter to begin the quest.
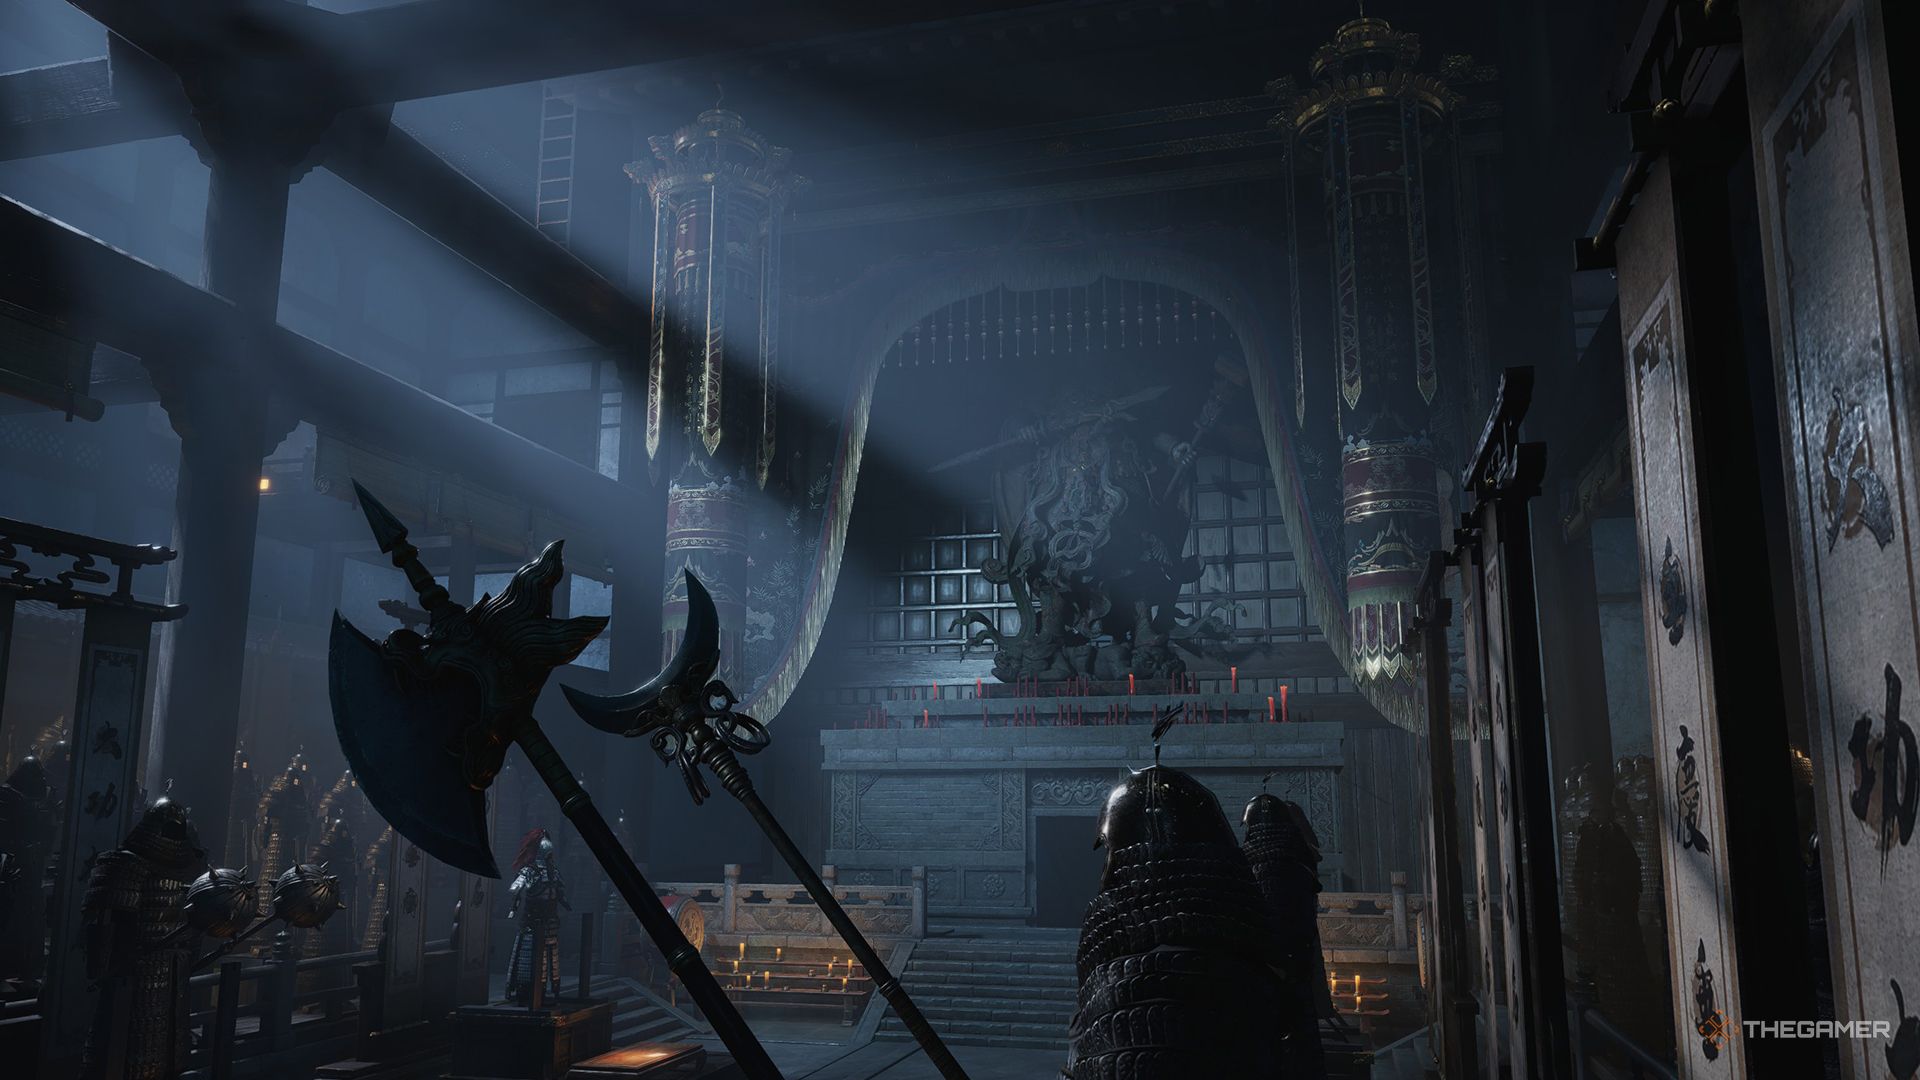
After starting the quest with the Mysterious Painter, head up to the top level of the temple, then enter the Martial Temple through the window. Inside, talk to the Painter again, then search the area for signs of the God of Killing, Bai Qi.
Consulting the clue gives you the hint ‘never seeing the light of day’. To proceed, use fire arrows to light up the three unlit braziers hanging from the ceiling in the center of the room.
Talk to the Painter again, then stand on the platform with a missing statue and use the An Unholy Prophecy emote to activate the elevator down. Proceed down the corridor, but be careful of an ambush to your right.
Continue forward, killing the enemies in your way, until you reach the room with a bell and a locked door. Shoot an arrow at the bell to make it ring, then use Meridian Touch on the door locker to crack it and open the door.
In this room, activate the Boundary Stone, then continue into the next room. Here, fight the three enemies, then you can explore the left and right rooms. Each passage has three weapons you’ll need to collect to open the door to the core arsenal.
Left Side
In the first room, kill the two enemies there, then continue into the hallway with spike traps covering the walls. Use the bow skill Still Water to slow down time and run past the traps, using the gap between them to wait for your endurance to recover.
Pull the lever at the end of the hallway to stop the traps and cause two ranged enemies to appear. Defeat them, then shoot an arrow at the bell hanging from the ceiling and use Meridian Touch to break the lock on the door, just like before.
In the next room, grab the first of the three weapons, the Wingfall spear. Push open the door, then continue down the hallway until you enter a large room with spike traps on the floor. Look to your left to find a spot to Cloud Step to, then use this to continue up the left side of the room.
This will put you in a room with the second weapon, the Rampage spear. This will put you in another hallway with spike traps. Before you start look to the left down the hallway, and you’ll see a gap. Run here when the spikes retract, then open the chest on the platform.
In the room below, there are two enemies, but you don’t need to go this way to proceed. Instead, use this room as a checkpoint before continuing down the spike trap hallway.
At the second set of spikes, use the dip in the floor to avoid them, then continue forward. Again, ring the bell and break the lock to open the door. This will lead you to the third weapon, the Silver Spear of Discipline.
Right Side
Kill the enemy, then head down the staircase. In the room with spike traps, crouch through the first set, then use Still Water to slow down time and run through the second set. Pull the lever at the end to stop the spike traps. Ring the bell and break the lock to open the door.
In the next room, defeat the shield-bearing enemy, then grab the Sovereign sword. Continue until you reach a large room with spike traps covering the floor. Look to your right to find a platform you can Cloud Step to; repeat this until you reach the top.
Keep going until you reach the room with the Triumph sword; take it, then continue behind the display to another set of spike traps. There are seven traps in total, with every other one only going down halfway. Remain crouched, then proceed, stopping at the halfway traps to wait for the next one to go back up.
By subscribing, you agree to receive newsletter and marketing emails, and accept Valnet’s Terms of Use and Privacy Policy. You can unsubscribe anytime.
Ring the bell and break the lock at the end of this hallway to reveal a room containing the Blackcloud Long Sword. Grab it, the open the door behind the stand. Watch out for another ambush here.
The next room has a chest, then two ranged enemies immediately to the left. After you defeat them, you’ll find yourself back in the main hall.
Before you drop down, you can loot two chests from the rafters above the main hall. Use the ladders and scaffolding to get around.
Back in the main hall, investigate the armor on the left side, then return both of its weapons to open the door. Head down the hallway until you reach another room with spikes on the ground, and use Cloud Step to continue like before. This time, the spikes will start ascending once you move, but there’s more than enough time to make it to the top.
Proceed to the next room, then attempt to take the treasure. Shi Zhen and some guards will appear; defeat them, then you can claim the treasure. Exit through the back tunnel.
On your way down, there will be a few chests, so proceed carefully if you want to minimize ladder climbing. Finally, exit the cave at the end, and you’ll find yourself at the Jade Mirror Pond, and the quest will be complete.
If you talk to the Mysterious Painter here, you can also begin the Still Waters Run Deep Wandering Tale.
Here’s how to do every step of the Woven with Malice side quest in Where Winds Meet.
We want to hear from you! Share your opinions in the thread below and remember to keep it respectful.
Please respect our community guidelines. No links, inappropriate language, or spam.


